
We call dashboard - the Control Panel of blogger where you get different sections and settings to smoothly run and manage your blog.
In this article, we will explain each options and how you should be handling them.
This guide is for beginner as well as advanced users.
Login to your blogger account and you will be provided with following dashboard structure.

You can have multiple blogs, select the one using down arrow button located above "+ New Posts". View Blog opens your blogspot website in new tab.
Different Sections of Blogger Dashboard
1) Posts
This section is where you can create new posts, edit existing posts, add/remove labels in posts, schedule posts and even delete them.
This is your content hub - all articles published or drafted are available here. Here is a snapshot of Posts section from one of my dummy blog.

From Posts Dashboard, you can perform following operations to individual posts:
- Revert to Draft or Publish Post
- Apply Labels to Post
- Move Post to Trash
- View the Post
- Find the author of Post
Hover to individual post to find different icons to the right of each posts. These icons represent above options. Explore them in your Posts Dashboard.
You can even click on Manage option and perform above operations to multiple posts at once.

This article guides more on this section:

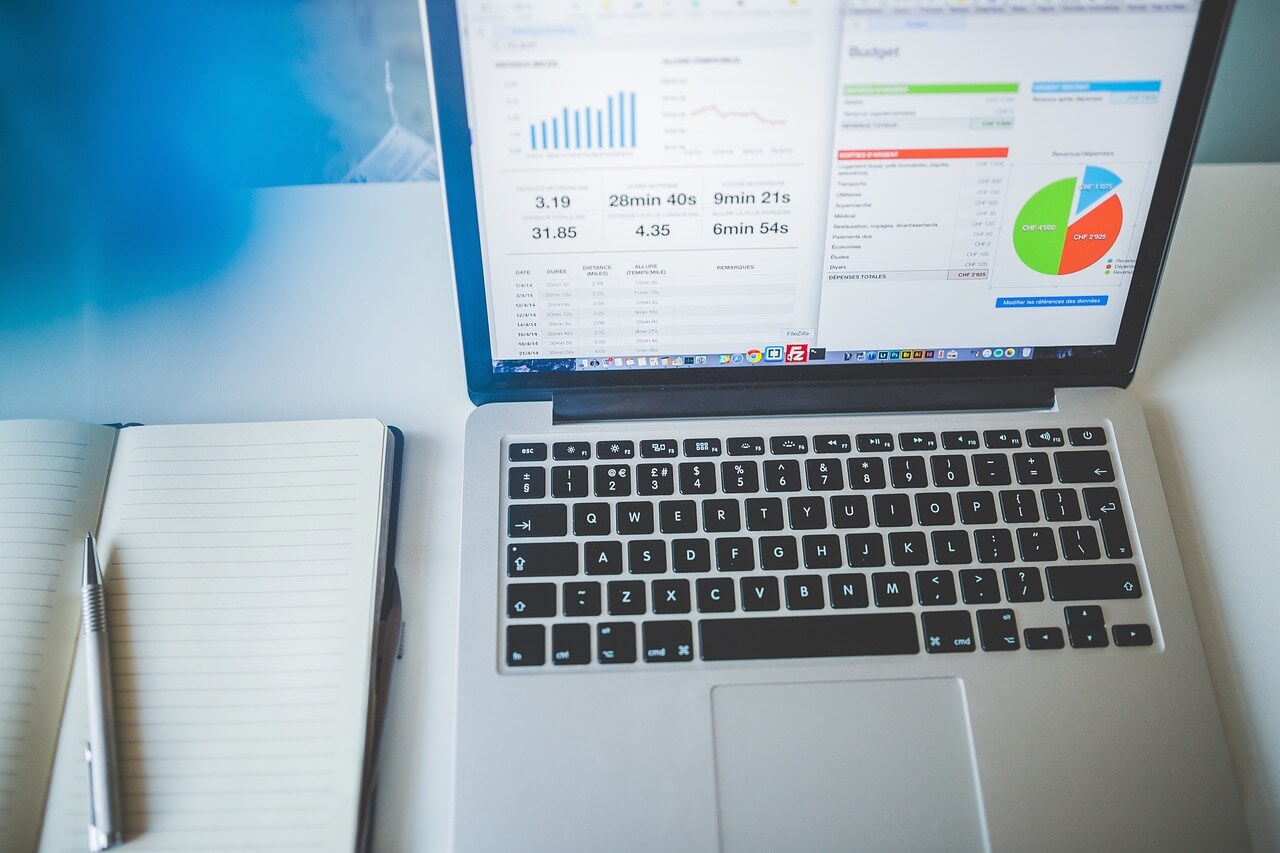
2) Stats
This is where you can view details about your blog traffics. This is a mini version of Google Analytics. Here's what information you can get from Stats Section.
- How many people visited your website today, yesterday, this month, last month and all time.
- Option to display traffic based on - Now, Last 24 hours, Last 7 days, Last 30 days, Last 3 months, Last 6 months, Last 12 months and All time
- Analytics for Latest Published Post.
- Your Blog traffic in graphical representation.
- Which posts are performing best.
- Pages analytics.
- And many more.

If you click on the option, "More About this Blog", you will find information such as,
- Top Referrers to your Website.
- Information about your audiences - countries they are from, operating system used, browsers used
- Keywords your website is ranking on Google.
- And many more.
You need to explore all these options live to get a better understanding.
If you are serious about analyzing your blog traffics and need further information, we recommend to install Google Analytics.
3) Comments
This is where you can view, moderate, mark as spam and delete comments in your blog. Here's a quick guide:
- If you have enabled moderation from Settings option, unapproved comments are listed under Moderation tab.
- Comments which are approved are displayed under Published tab.
- You can mark comments as Spam and they will be displayed under Spam tab.

When you hover to individual comment, you will have following options:
- If comment is under moderation, option to Publish or Discard it.
- Approved comments can be either deleted, marked as spam or remove the comment content.
- When you choose remove content of this comment, it is displayed as "This comment has been removed by a blog administration" on respective post.
Alike Posts Section, you can click on "Manage" option to perform above operations on multiple comments at a same time.
4) Earnings
Google Adsense work closely with Blogger.com. Earnings tab enables you to connect your Adsense account to that blog.

Once you connect your Adsense, you will be provided with following options:

5) Pages
Pages are static piece of contents that you can use to add extra information about your blog. Unlike posts, Pages pathname follow yourblogspot.blogspot.com/p/page_name.html URL.
You can even customize a page to display as homepage for your blogger blog. That part is beyond the scope of this article. Normally, we create following types of pages in blogger - not limited to these:
- About Us
- Contact Us
- Disclaimer
- Privacy Policy
- Write for Us
- Sitemap
- And many more...

- Revert to Draft or Publish Page
- Move Page to Trash
- View the Page
- Find the author of Page
Or, Click Manage option to perform same operation for multiple Pages.
6) Layout
This is where you can add, edit and delete gadgets in your blog. Gadgets are widgets that perform certain task.
For instance, in Blogger, we have a Popular Post Gadget which displays list of popular posts from your blog.
A professional theme will have properly structured layout that enables customizing elements without need of opening HTML code.
Different templates have different layouts but a basic layout might look something like this -

When an eye 👁 icon is displayed for a gadget/widget, it means that gadget is visible. You can click on Pencil Icon to customize any Gadgets.

7) Theme
This is where you can change, add or customize your blogger template. You can browse through the available themes, and you can preview how each theme will look on your blog before you activate it.
You can also add custom themes, backup your existing theme, upload new ones and edit your blogger template file.

8) Settings
This is where you can control all of your blogger settings.
You have a lot of options in here -
- Changing Blog Title, Adding Description, Uploading Favicon, Inserting Google Analytics code
- Option to show/hide your website on search results
- Inserting custom domain and adding HTTPS SSL certificates.
- Adding and Removing authors and granting/revoking permission to them.
- And many more...

We will share a dedicated article for Settings tab.
9) Reading List
This is where you can follow other websites and their news feeds will be visible here. You are not limited to follow only blogger.com websites, you can follow any websites.
If you have not added any website to your list, it will prompt notification with an option to Add websites, click on it, Click Add and enter the address and hit Next. Click Follow. You are done.

You can also add or delete websites from your existing list. Click on Manage option to get this option.

Those were 9 different sections of blogger dashboard. We hope the article was helpful.
To summarize,
- Posts - All contents of your blog
- Stats -Traffics of your blog
- Comments - Comments of your blog
- Earnings - Adsense setting for your blog
- Pages - Static pages for your blog
- Layout - Structure of your blog
- Theme - Template for your blog
- Settings - Different options for your blog
- Reading List - Blogs you follow